Showing posts with label banner. Show all posts

Monday, June 9, 2014

Patriotic Banner: Let's hear it for the red, white, and blue!


I love red, white, and blue!

I am reaching back a ways for these July 4th projects.
My Aunt Jane and I made these 2 summers ago,
on one of our craft days! 


This single banner was fun to make,
 I used scraps of red, white and blue paper from my 
scrap pile, white ribbon gathered for the center;
The "Bless the USA" and American flag
 are from a paper crafting kit from Michael's...
I don't recall the brand.


My Aunt Jane created this pennant banner!
I love the colors she chose, reminds me of summer days,
 faded blue jeans and bandannas!
My Minds Eye pennant banner chipboard makes up the base,
rosettes from blue and red paper,
silver glittery chipboard letters with more
of the patriotic accents from Michael's finish the project perfectly!

Looking forward to creating a few more fun 
Fourth of July decorations for this summer...
We purchased a new BBQ pit... 
 I can't wait to grill steaks, make homemade ice cream,
 and dance around the yard with sparklers!


XOXO
PK

Monday, February 10, 2014

Book Print and Doily Valentine Banner


 I love Dollar Tree, you can find 
the most amazing things there to craft with.


Using Dollar Tree doilies and old book print
I created a Love Valentine banner...


I started with the collage paper hearts
{you can find them here}
trimmed with old book print ruffle...but they were too plain, 
and rather too much like the original banner
so I added the doilies on top 
along with book print chip board letters
and strung them together with netting.


I love the county shabby look and these fit perfectly!


xoxo
PK
This project shared here:


Saturday, February 8, 2014

Sweet Valentine Felt Banner


Valentines Day is coming up fast!


I guess my boys will take store bought Valentines to school...
We usually make their Valentines, but...
I am totally stuck on making Valentine Banners...


This sweet valentine banner is made from cream and red felt...
I love the turquoise, cream, and red color scheme.

I simply cut out the pennant shapes with pinking shears, 
stitched around the edges with turquoise embroider floss...

I cut the scalloped red felt circles out with my big shot,
 and added red gingham and plaid pinking shear circles behind them...


I wanted the letters to be white felt, but since I
do not have an electronic cutter, hand cutting them just wasn't
working out...so I used glitter glue to sparkle up 
chipboard letters and hot glued those suckers on!

Thank you for stopping by!

xoxo


Wednesday, January 22, 2014

Tuesday, November 5, 2013

Saturday, January 5, 2013

Queen of Hearts


Today I completed two easy Pinterest Projects!

The first, Valentine bookmarks for my son's 4th grade class, was so easy...in the Pinterest project there were small hearts punched out along the side, however I don't have that size punch so I was going to stamp the hearts....but my ink just smears....maybe I will do a glitter heart instead.

Thursday, January 3, 2013

Be Mine

Back in the fall I received a Restoration Hardware catalog in the mail...I love catalogs...and this one is gorgeous...and huge! However, the items are so pricey, that its not really even a good dream book...I don't dream of $20,000 couches, just regular ole Pottery Barn couches are good enough for my dreams. And even those are out of my reach, as every stick of furniture in my house is a reclaimed castoff....quite a bit from the roadside. I looked through this Restoration Hardware several times, but it quickly went to the bottom of my catalog dream stack.
 
So during my after Christmas cleanup, I came across it, and started to toss it...but I just couldn't. I mean this book is huge, I just thought, "Wow, I wonder what can I do with all this paper?" The pictures are beautiful, but actually quite artsy, mostly greys and whites, {I guess there isn't much color needed when you have a lot of "green"}. As I thumbed through the catalog, I decided I would use the paper in some of my Valentines, going for a simple glam look, with the black, grey, and pages as backgrounds and red glitter accents.
 
 
Here is my first project, a "Be Mine" Banner created with the catalog paper cut into 2 1/2 inch by 11 inch strips and accordion folded...each rosette takes 2 strips of paper glued together end to end, when you push it down flat this rosette forms, then just simply hot glue the center to hold it together.  I then used red glitter glue all around the edges, and red glitter letters....{the "e" letters were green glitter, I just re-glittered them red to match}
This was an easy project, very easy on time and product...I have tons of black and white paper...I am maybe 4 sheets of paper shy of being on a Hoarder reality show! But because I am not working and therefore not craft shopping, I am hording all my "good paper" lol.
 
My next project, is something I saw on Pinterest...a banner made with cards and red ribbons!
 
 
xoxo
PK
 

Monday, December 31, 2012

Happy Crafting

Merry Christmas and Happy New Year!
Well, I have been happily crafting away while on break from school...my kids are running wild around the neighborhood, while I putter around in pj's pondering ribbon and paper combos!
I will post a few pictures of some things I've made...a few got away without being photographed!
 This cute snowman was made for my sons extra credit math project, he is a polyhedron-thingy
This was made with another son for his math project, I have no idea what this shape is called, but it involved perfect circles and equilateral triangles...harder than it looks, lol!
I tried several Pinterest projects, this cute Christmas tree from old book pages...and I also tried cooking the chocolaty cupcakes made with brownie batter, snickers, and cookie dough...well they tasted better than they looked...Snickers melts with yucky looking white goo...my sons classmates didn't like them at all...


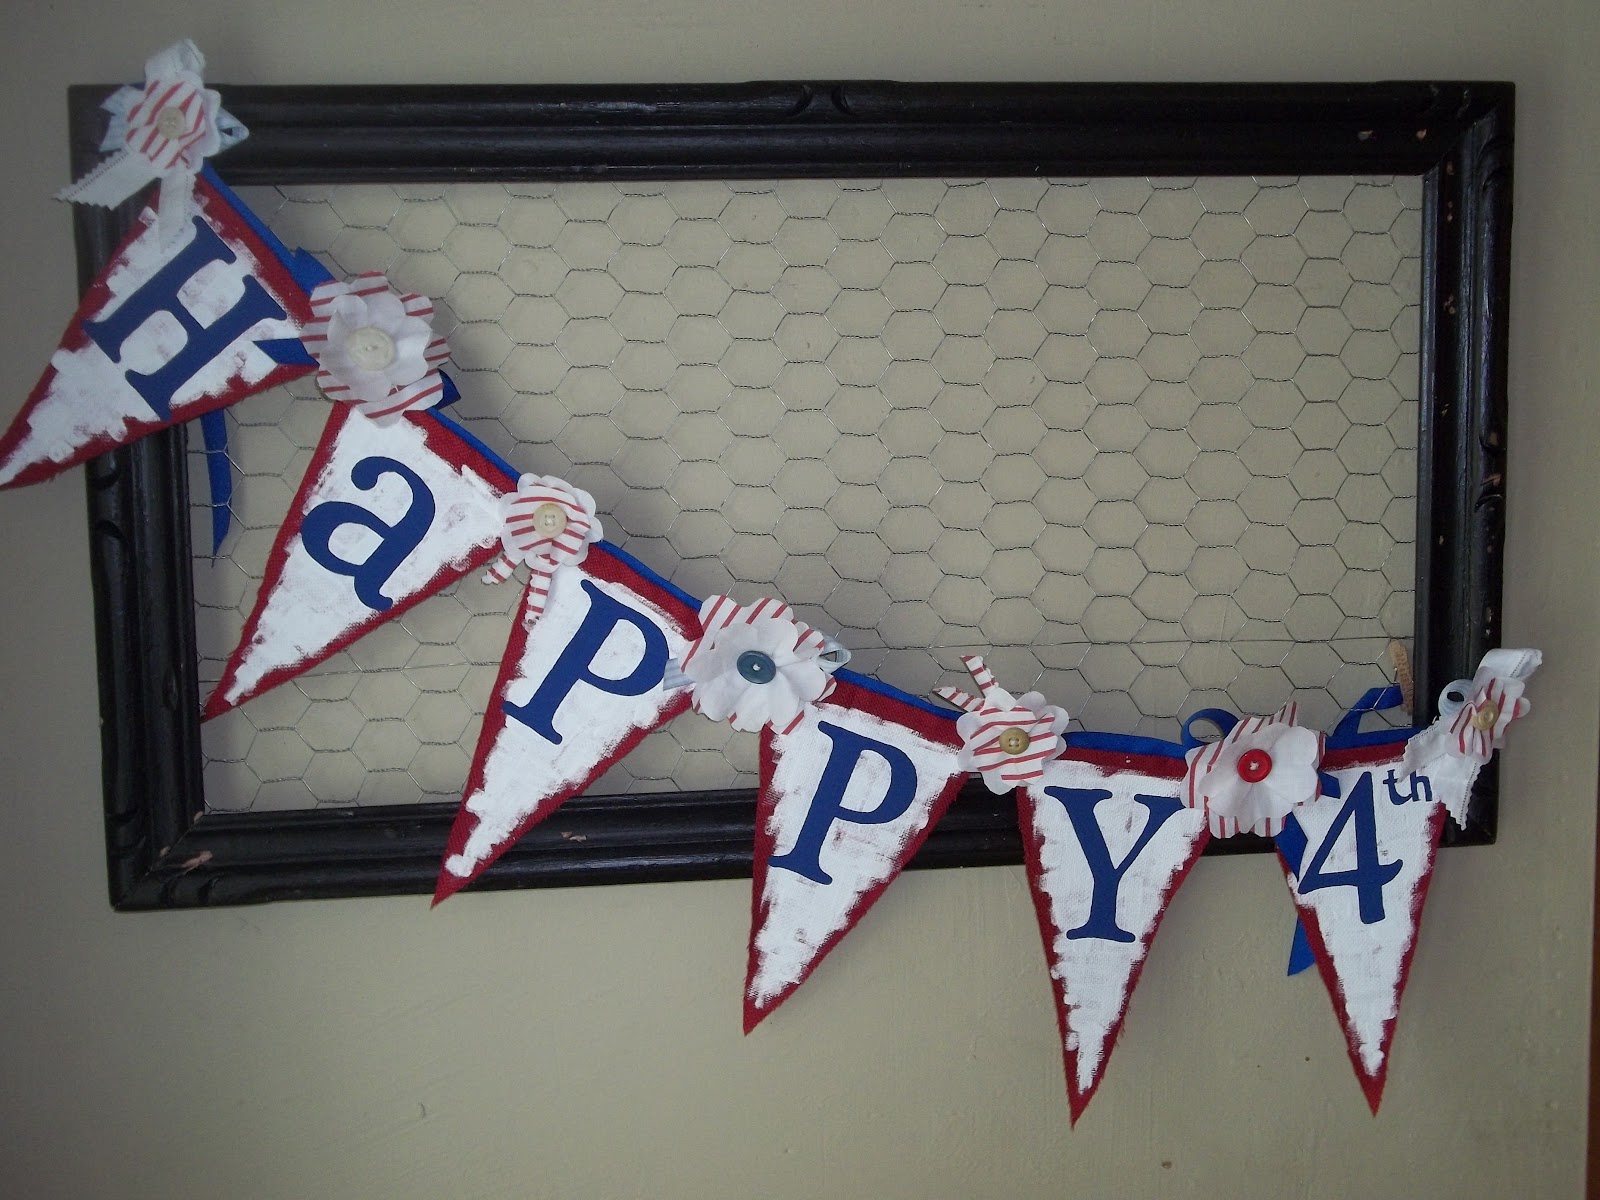
 More Banners! I made several book page banners this season...


This banner was so fun to make, it is constructed of all reused items...The snowflake letters were part of a banner I got on sale last year, and the rosettes are made from old sewing book pages; the tinsel came from my Aunt Jane.

This are just a few of the Christmas ornaments I made. Sorry for the poor quality picture, it was taken with my blackberry right before they were given away... 

Now I have moved on to Valentines Day projects!!

This refurbished candy box was done as a gift for my mother...I am going to fill it with pictures of her children and grandchildren as toddlers.
I have always wanted to do one of these, so this was my first Valentine project, lol I had been saving this candy box for years! I used "My Minds Eye" papers and embellishments.


This is an almost finished banner...just waiting for the glitter glue to dry so I can string it together.
It is for a very special girl in son number 4s life. I hope she likes it!

 Pinterest projects...


Button bracelet...I love old buttons!
Valentine Bookmarks made from paint chip samples! Next planned project...

Well hugs, kisses and Happy New Year!
PK

PS: The Valentine Box was shared on I Gotta Create Wildly Original Link Party
Stop by and check all the Wildly Original links, some pretty cool stuff over there on Christinas Blog.

Thursday, June 14, 2012

HELLO KITTY! Banner projects

Good Morning All!


I just love Hello Kitty. What can I say? If I had my own little girl, everything would be Hello Kitty in my house! But alas, I must restrain my Hello Kitty-ness to my granddaughters!


I made this Hello Kitty banner for my spitfire granddaughter, six year old Desy. She shares my love of Hello Kitty!


 Here, in these two pictures, you can see some of the details. The Hello Kitty Cutouts are from a Big Shot die (I got on sale at half price!), the papers are My Minds Eye, and October Afternoon. I also made flowers from vintage children's books, using vintage button for centers.


 The glitter letters are from Michael's, as are the chipboard butterfly.

I had a really good time making this ultra girly banner for my beautiful granddaughter!!


Now on to the boy stuff!!


As you can see, this banner is for Zeryk, our one year old grandson! He has just started walking!


 I used My Minds Eye products in this project, I love the muted blues and greens.

 However, my mother observed that it was a little bland...what do you think?

Do you think I should punch it up a bit with some brighter ribbons and glittery edging?


I did outline the glitter chipboard letters for more visibility.

Our oldest grandson, David (aka Pnut), loves trains.

 He has a gajillion miles of toy train track that runs round and round the house!


In this project I used papers I purchased on sale at Ross. The package had been opened, and resealed, but the product name is missing...the whole package is about toy Lionel Trains!

So perfect for Davids banner, huh!


One embellishment says "Never Question the Engineers Judgement" ...lol


Well, have a good summer day!
Thanks for stopping by!

Saturday, May 12, 2012

Happy Mothers Day Weekend!

Whew! It has been a whirlwind week! 1 sick kid, 2 kids made Confirmation, 3 finals, 1 flat tire, and  the dog, well maybe you don't want to read what the dog did!

I am so glad for this weekend to arrive. It's raining here in Texas, so my home is full of rambunctious boys, bustling around, getting on each others nerves!

Hoping the sun comes out and they will run out to play in the mud. In an effort to stay out of their way, I have been in my craft room this morning. I made another "Happy 4th" banner!


I hand painted the letters and background with acrylic craft paint. The flowers were made from upcycled fabric, old shirts and napkins, the blue twill ribbon I used to string the banner pieces together is new though.


Most of the buttons, like the ones above, were from the jar full of old buttons featured in my last post!


I am thinking I just might keep this banner for myself!

xoxo PK

Tuesday, May 1, 2012

Tip Toe Thru Tuesdays Mothers Day Give Away


Wow! Please check out


Tiaras and Bowties and Crayon Freckles

Tip Toe Thru Tuesdays


MOTHERS DAY GIVE AWAY!!!

Look to the right and click on the second button to go straight to the site and register!

You will find one of my Banners included in the giveaway. It is "LOVE" handpainted, with sweet flowers made from a creamy, pale yellow, vintage linen napkin I rescued from a local thrift shop, and garnished with vintage buttons.


The vintage buttons were purchased from a new antique mall in our local town of Sour Lake, Texas with the money I made from my first banner sale!


Here are a few of my favorites!


Hop on over to Tip Toe Thru Tuesdays and see all the goodies you can register to recieve!
They would make purr-fect Mothers Day presents for someone special...or dont tell anyone you won and keep them all for yourself!

Luv ya! PK


Saturday, April 14, 2012

Sweet Banner

Yay! The weekend is here...time for some relaxation! The weather is lovely in Texas, warm and sunny, although a bit windy! After my sons ballgame (he scored his first home run today), I decided to craft a little.

I have put away my fabric for a while and gone back to crafting with paper. I created two girly girl banners, perfect for a new baby or little girls room.

Sweet and Angel Banners
I made my banners with My Minds Eye products, chipboard letters from Basic Grey and Recollections from Michael's, prisms from Hobby Lobby, vintage buttons, hemp twine, and vintage ribbon.

I used My Minds Eye precut banner piece, from the Lost and Found collection.             
Using the Martha Stewart score guide, I scored my 1 1/2 " x 12" paper strip every 1/4th inch. You then fold accordion style on each score line, glue the edges together to create a circle. Actually like a little tube.

When this piece is pushed flat, a pinwheel is created. You have to glue it together quickly, or it will pop back up....
I use a hot glue dollop on the backside, and add a circle of scrap paper to hold it together. When I make these with thick paper, I will place a scrap circle over the front center also to make it stronger
Here is the pinwheel front. I also have a Big Shot Die by Tim Holtz that cuts these out already perforated...the are really cute too, but are rather small...I like make really large pinwheels with 2 paper strips - 2 1/2 in wide, and scoring every 1/2 in, gluing the strips together...and you end up with a pinwheel 5 in across.
The next steps are basically just layering, and embellishing. I kept these banners pretty simple. The paper products already had some glitter, and for the "Sweet" banner I used a glitter chipboard letter. The color is a brighter pink, and it really pops!
Here I just punched holes so the pieces could be strung together...I tried just about every ribbon I had in my stash...
Finally, I went for simple...a plain white hemp cord. I threaded vintage buttons through in between each banner piece. This was not only for the look, but also to keep the banners from sliding around on top of each other.
On the "Angel" banner, I used a vintage silky cord to string the banner pieces together, and a piece of embroidery floss to string the crystal pieces (the crystal holes were too small for the cord). Also, I used cream chipboard letters, for a softer look.


Below are a few other projects I made...

A Christmas "Peace" banner for my Mom

Joy Banner


Party Decorations

These are the large pinwheels I mentioned earlier in this post. These pinwheels were strung together to make a birthday decoration for my granddaughter, along with the "Happy Birthday" banner made out of coasters below...


I hope you all are having a relaxing weekend also!

xoxo
PK

This project shared here:


Related Posts Plugin for WordPress, Blogger...